Tube Furnace - "How Did We Not Die"
the complete article on "how" we built a 1100°C tube furnace from scratch
Introduction
Building a 1100°C tube furnace from scratch - honestly, looking back, we're not entirely sure how we didn't accidentally create a small disaster. But here we are, with a fully functional high-temperature furnace that's been running reliably for months. This writeup covers everything from our initial "let's just wing it" approach to the final implementation that actually works.
The motivation was simple: commercial tube furnaces cost $15,000+ and we needed something for our semiconductor processing experiments. Our budget? About $800. The solution? Build it ourselves using nichrome wire, firebrick, and a healthy dose of engineering stubbornness. What could possibly go wrong?
Spoiler alert: A lot could go wrong. We went through three temperature controllers, burned out two heating elements, and discovered that "eyeballing" thermal expansion calculations is not a recommended engineering practice. But we learned a ton, saved a ridiculous amount of money, and ended up with something that works better than we had any right to expect.
"The best way to understand complex fabrication processes is to build the tools yourself."
Design Overview
Our tube furnace follows a pretty standard design: a quartz tube surrounded by heating elements, wrapped in insulation, all controlled by a PID temperature controller. The devil, as always, is in the details - and there are a lot of details that can kill you if you get them wrong.
Key Specifications
The core philosophy was "keep it simple, but don't cut corners on safety." We used proven materials and designs, but fabricated everything ourselves. The quartz tube came from a lab supply company (about $80 - definitely not something to DIY), but everything else was built from scratch.
Heating Element Design
This is where things get spicy - literally. We're pumping 2.5kW through nichrome wire to hit 1100°C. The heating element design is critical because if it fails, you either get no heat or... well, too much heat in the wrong places.
- Wire Selection: 20 AWG nichrome (Ni80Cr20) - chosen for its high melting point and stable resistance characteristics up to 1200°C
- Winding Pattern: Helical coils with 2mm spacing to prevent hot spots and ensure even heat distribution along the tube
- Support Structure: Custom-machined alumina ceramic tube to hold the heating coils - alumina is stable to 1700°C and electrically insulating
- Power Calculation: ~8.3 W/cm² power density - calculated to reach 1100°C with our insulation setup while staying well below wire limits
Heating Element Math
Because someone's going to ask how we calculated the wire length...
Insulation Strategy
Good insulation is what separates a tube furnace from a very expensive space heater. We went with a multi-layer approach: ceramic fiber blanket closest to the heating element, then vermiculite-filled firebrick, then an outer steel shell.
The ceramic fiber blanket (Kaowool) handles the high-temperature zone and provides excellent thermal isolation. The firebrick adds thermal mass and structural support. The outer shell keeps everything contained and provides mounting points for accessories.
Insulation Safety Note
Ceramic fiber insulation can release respirable fibers. Always wear proper PPE during installation and ensure adequate ventilation. We sealed all exposed edges with high-temp cement.
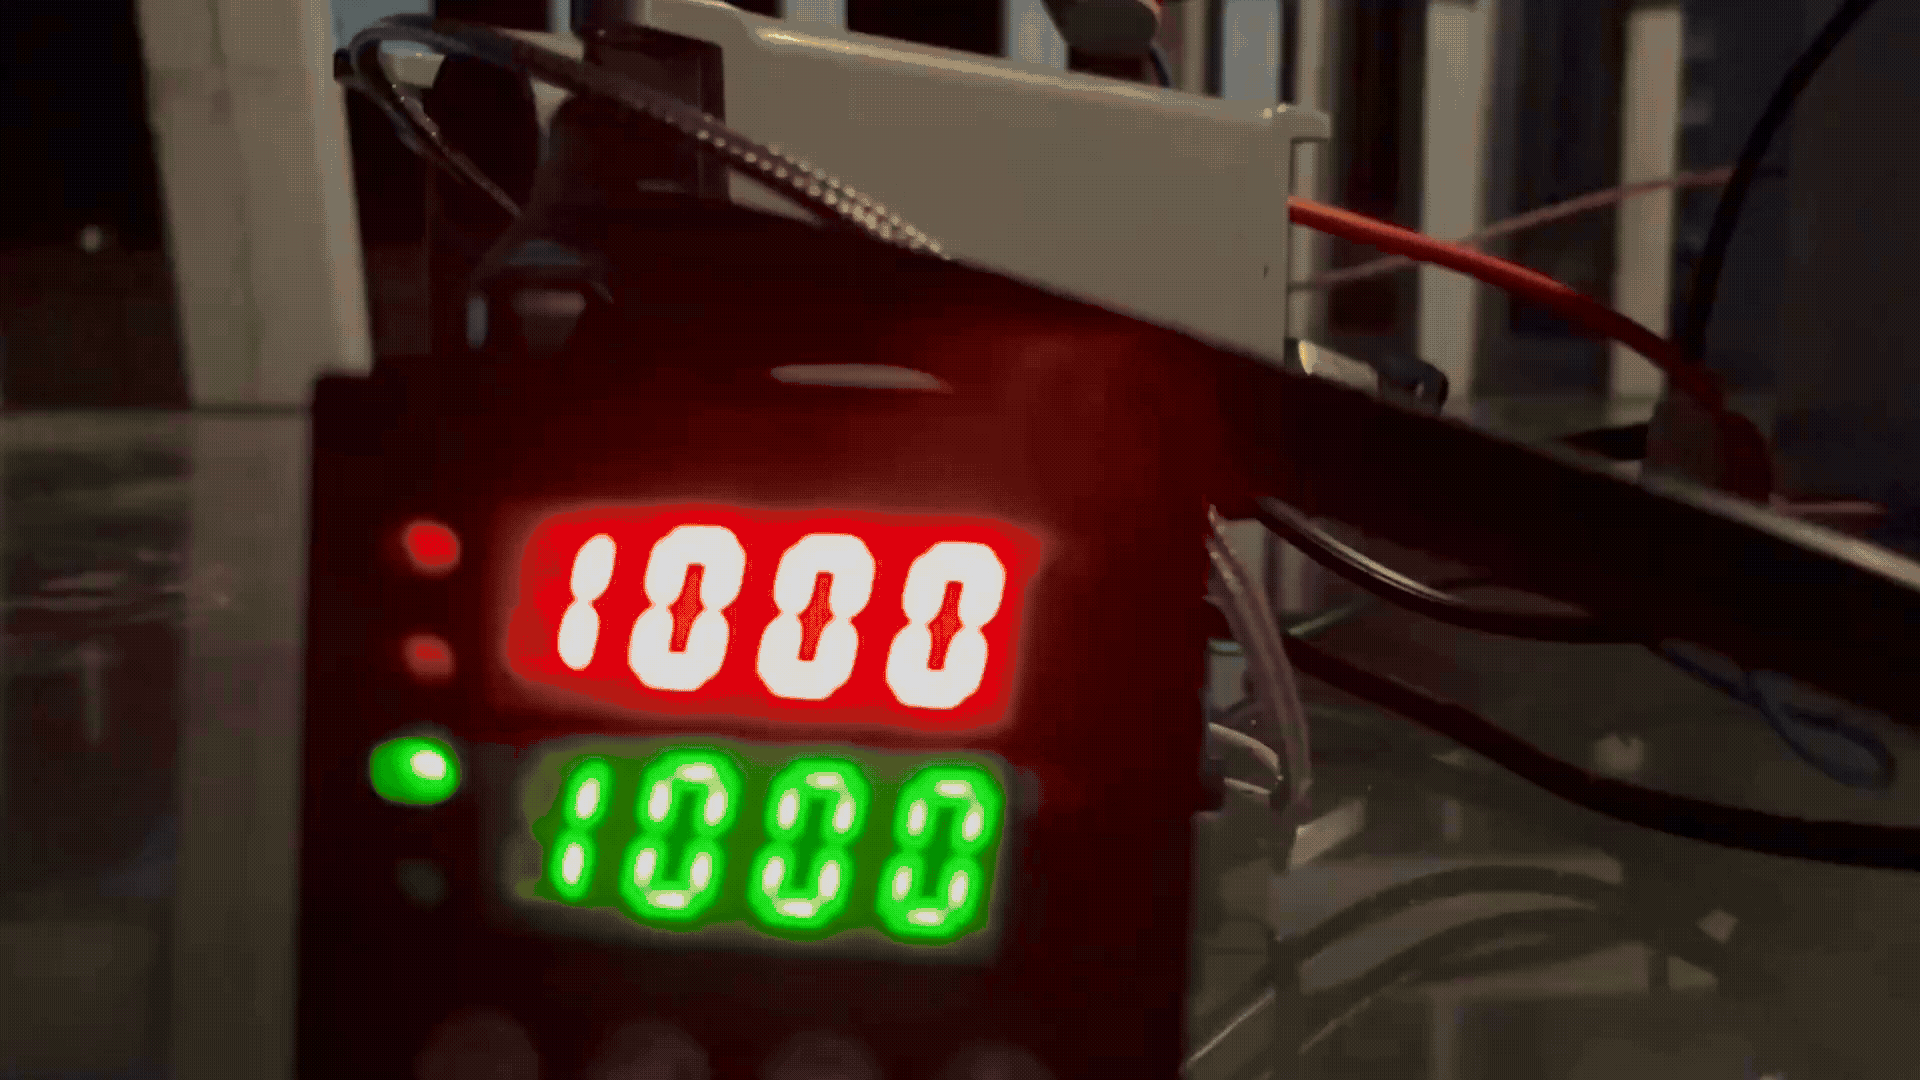
Temperature Control
We went through three different temperature controllers before settling on a proper PID controller with K-type thermocouple input. The first two were... learning experiences. Turns out "good enough for a toaster oven" is not the same as "good enough for 1100°C semiconductor processing."
- Controller: Inkbird ITC-100VH with K-type thermocouple input - chosen for its 1200°C range and solid-state relay output
- Thermocouple Placement: K-type probe positioned at the center of the heating zone, about 5mm from the tube wall
- Power Switching: 40A solid-state relay (massive overkill, but heat sinks are cheaper than replacing burnt relays)
- PID Tuning: P=50, I=200, D=50 - took about a week of tweaking to get stable ±2°C control
Safety (The "Not Dying" Part)
Let's be real: we're dealing with enough electrical power to weld steel, temperatures that can melt copper, and toxic gases if things go wrong. Safety isn't optional - it's the difference between a successful project and a very expensive insurance claim.
🔥 Thermal Safety
- • Outer surface stays below 60°C at max temp
- • Automatic shutdown if thermocouple fails
- • Emergency power cutoff switch
- • Heat-resistant gloves rated to 1200°C
⚡ Electrical Safety
- • Proper grounding on all components
- • GFCI protection on all circuits
- • Enclosed wiring in metal conduit
- • Over-current protection sized correctly
The most important safety feature? A brain. We don't operate this thing without proper planning, and we never leave it unattended during heating cycles. Murphy's Law loves high-temperature equipment.
Construction Process
Building this thing was a exercise in "measure twice, cut once, swear frequently." The construction took about three weeks of evenings and weekends, plus an embarrassing number of trips to various specialty suppliers.
Phase 1: The Shell
Started with a steel enclosure - 16-gauge steel tube, welded end caps, mounting flanges for the quartz tube. Nothing fancy, but solid construction. The key was getting the tube alignment perfect; any misalignment would create hot spots.
Phase 2: Heating Elements
Winding 21 feet of nichrome wire into perfectly spaced coils was... meditative. And frustrating. The coils had to be uniform or you get temperature gradients. We built a simple jig to keep the spacing consistent.
Phase 3: Insulation Installation
This is where things got itchy. Ceramic fiber insulation is amazing stuff, but it's not kind to exposed skin. Full PPE required. We cut everything slightly oversized and compressed it into place for a tight fit.
Phase 4: Controls & Wiring
The control panel was built into a separate NEMA enclosure - never put electronics inside the furnace itself. Learned that lesson from someone else's mistake. All high-voltage wiring in proper conduit with appropriate ratings.
Testing & Validation
First power-up was... tense. We started conservatively at 200°C and worked our way up in 100°C increments over several days. Each temperature step included a 2-hour soak time to check for any issues.
The validation process included temperature mapping across the heating zone, power consumption measurements, and thermal cycling tests. We also tested the safety systems by deliberately triggering thermocouple failures and emergency shutdowns.
Validation Results
Lessons Learned
Every project teaches you something. This one taught us a lot, sometimes the hard way. Here's what we wish we'd known before starting:
- Thermal expansion is real: Everything grows when heated. Design for it or watch your carefully machined parts bind up at temperature.
- Quality thermocouples matter: Cheap thermocouples drift. At 1100°C, a few degrees of drift can ruin your process.
- PID tuning takes time: Don't expect perfect control immediately. Each system is different and requires patient tuning.
- Safety systems aren't optional: The one time you skip a safety check is when something will go wrong.
Performance & Results
After six months of regular use, the furnace has exceeded our expectations. We've successfully run oxidation processes, annealing cycles, and dopant activation steps. The temperature control is solid, and the construction has held up well.
Most importantly, we haven't died. That might sound like a low bar, but given the amount of energy this thing contains, we consider it a significant achievement.
Future Improvements
No project is ever truly finished. Here's what we'd change for version 2:
- Multi-zone heating: Independent control of three heating zones for better temperature uniformity
- Data logging: Automated temperature logging with alerts for out-of-range conditions
- Gas control: Automated inert gas purging for controlled atmosphere processes
- Faster cooling: Forced air cooling to reduce cycle times